
Holiday Craft How-To

This easy holiday craft from Hammer and Stain is available here. However, most of the materials can be found around the house. Follow these instructions with photo guides to learn how to make one!
Materials:
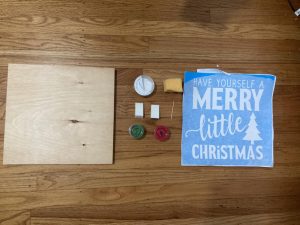
1. Wooden board
2. Three sponges or paint brushes
3. White paint
4. Green paint
5. Red paint
6. Stencil
7. Toothpick
Step One: Paint Background
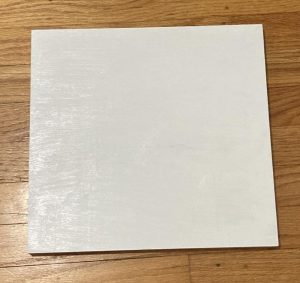 Of the three sponges, use the largest one to paint the entire wooden board white. Layer two coats until it is completely opaque. Then, wait for the paint to dry.
Step Two: Add Stencil
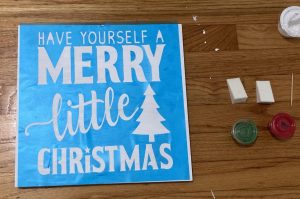 Peel the white gridded paper off of the stencil. Place the sticky side onto the dry, white board. Press down firmly, and gently peel off the tissue paper. If you don’t have a stencil from Hammer and Stain, another alternative is to print the design you want out on paper. Using this design, cut a plastic bag into your desired stencil and use that instead, securing it onto the board with tape.
Step Three: Paint Stencil
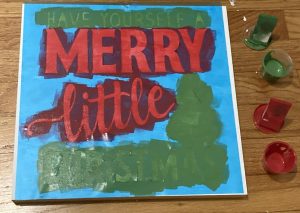 Using sponges or paint brushes, paint the board overtop the stencil. Layer two thin coats so it is completely opaque.
Step Four: Peel Off
 When the red and green paint has dried, gently peel off the stencil going against the wood’s grain. Use the toothpick to lift up any pieces that may have gotten stuck. If it comes out a little messy, use a small paint brush and white paint to outline the letters and add definition.
Step Five: Display

In less than one hour, I was able to create and display this simple holiday decoration. Here is the finished product in my living room. Merry Christmas, and happy holidays!